

In part one of this series we created a new method within in the commerce API to accept a simplified JSON format. In this, the second part, we will create a Azure function to call the new method.
This is a simple example, its purpose is to show how you can use the commerce engine proxy within Azure functions to meet many integration requirements. As Azure functions now support timed executions, they can even be used to replace asynchronous or “timed” integration batch jobs.
For example, you can use Azure functions to read product update messages from a message bus or SQL table, translate them and call the commerce API to update product and or variant pricing or inventory levels.
This post covers the following :-
- Creation of a HTTPTrigger Azure Function i.e. it will be executed from a HTTP call (from a browser in this example)
- How to execute and debug the function locally
- Referencing the commerce proxy from the Azure function project
- How to authenticate against the commerce engine via a x509 certificate from the Azure Function.
- How to format the JSON and make the call to new engine method
Step 1 – Create a project
The process for creating a new Azure function is widely documented online so not going to cover this here. You can follow this tutorial to get a Azure function project setup. Once you have this working go to step 2.
Step 2 – Rebuild engine proxy
As we have added a new method to the engine in the first post, we must rebuild the proxy so we can use it from our new Azure function
- From within the commerce engine SDK folder open the commerce proxy project. For example, “C:\Git\Examples\Sitecore\Commerce\9.0.3\Sitecore.Commerce.Engine.SDK.2.4.43\src\Sitecore.Commerce.ServiceProxy”.
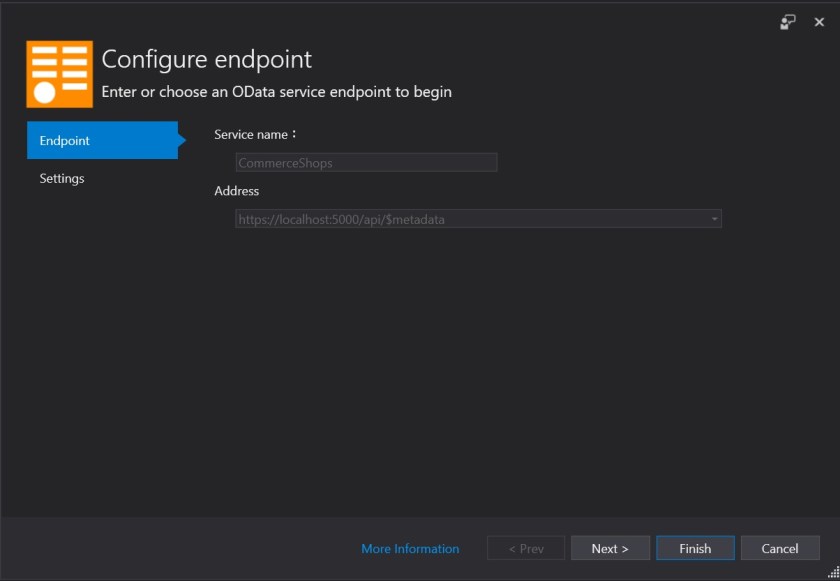
- Under connected services, select “CommerceShops”, right click and select “Update OData connected service”
- Should see the following screen, hit finish. Ensure you have correct URL to your commerce engine. Repeat for “CommerceOps”.
Step 2 – Create the Function
Here we will create the new function and write the code to call the commerce API and authenticate using the x509 certificate.
- Add a reference to the proxy you just rebuilt in step 1 i.e. “Sitecore.Commerce.ServiceProxy”. You will find it in the bin of the proxy project.
- Add a reference to Sitecore.Kernel.dll from either your site bin or the Nuget feed.
- Right click on your Azure function project and select “Add”
- Select “Azure Function” and “HTTP Trigger” (no parameters)
- Give it the name “CreateProductRequest”
- Paste the following code and replace your namespace etc
- To the local.settings.json add the following settings
- Change the settings to reflect your environment. Pay special attention to the thumbprint. This should be the thumbprint of your x509 certificate.
The code above extracts the certificate from the cert store converts it to a base 64 string and adds it to the header of the call. Note that the certificate is the same certificate that Sitecore CMS uses to call the engine. The name of this certificate if you are using a one box (developer) install is usually named “storefront.engine”.
As Azure does not have “LocalMachine” store location, you will need to change the code to use the personal store i.e. “CurrentUser” before publishing to Azure.
var x509Store = new X509Store(StoreName.My,StoreLocation.LocalMachine);
Step 3 – Test locally
- Build the solution and hit start
- The Azure function tools should open a console and start listening on a specific port
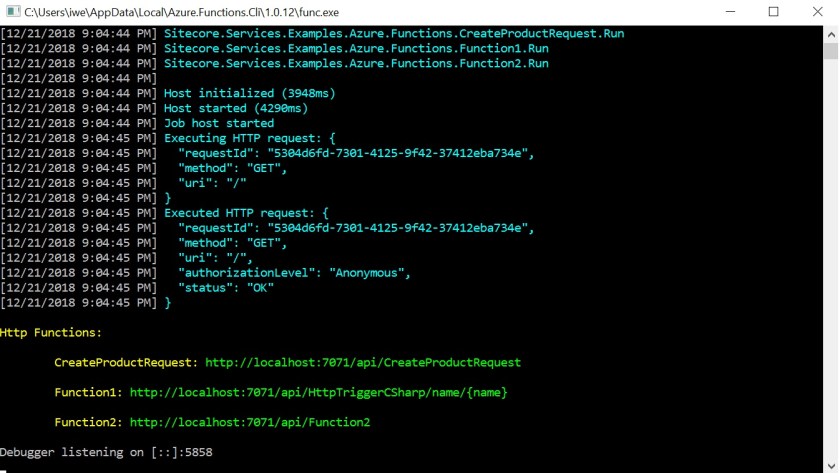
- Using a browser or Postman execute the new function using the following URL for example (replace your port if need be)
http://localhost:7071/api/CreateProductRequest?productid=AwesomeProduct2&price=320.21
To see if the product was created successfully, use postman to execute the standard commerce postman command “SellableItems”. You should see your new SellableItem in the list.
https://localhost:5000/api/SellableItems
